Let’s get one thing straight: you don’t need a computer science degree, years of coding experience, or a fancy gaming PC to make a real video game. Thousands of the world’s most-played games — from Hollow Knight to Among Us — were built by small teams (or solo developers) using Unity, the exact tool you’re about to open.
By the end of this page, you will have a working, playable 3D game on your screen. Not a concept. Not a tutorial exercise. A game.
Unity remains the #1 choice for Game Development in 2026 because it’s free to start, works on Windows and Mac, exports to PC, mobile, and console, and has the largest beginner community on the planet. Let’s build something.
What is Unity Game Engine?
Unity is an interactive engine or framework used to develop scenes in 2D, 2.5D and 3D. This fully featured application platform is not just for generating games, it can also be used to develop training simulators, first-responder applications and a range of business-involved applications. The applications can be enriched by coding but also utilize visual components to provide better interaction with the 2D/3D environment. In addition, Unity enables hassle-free export for popular mobile platforms so that your jewel can be enjoyed by countless users free of charge.
Step 1: The Setup
Time: ~10 minutes
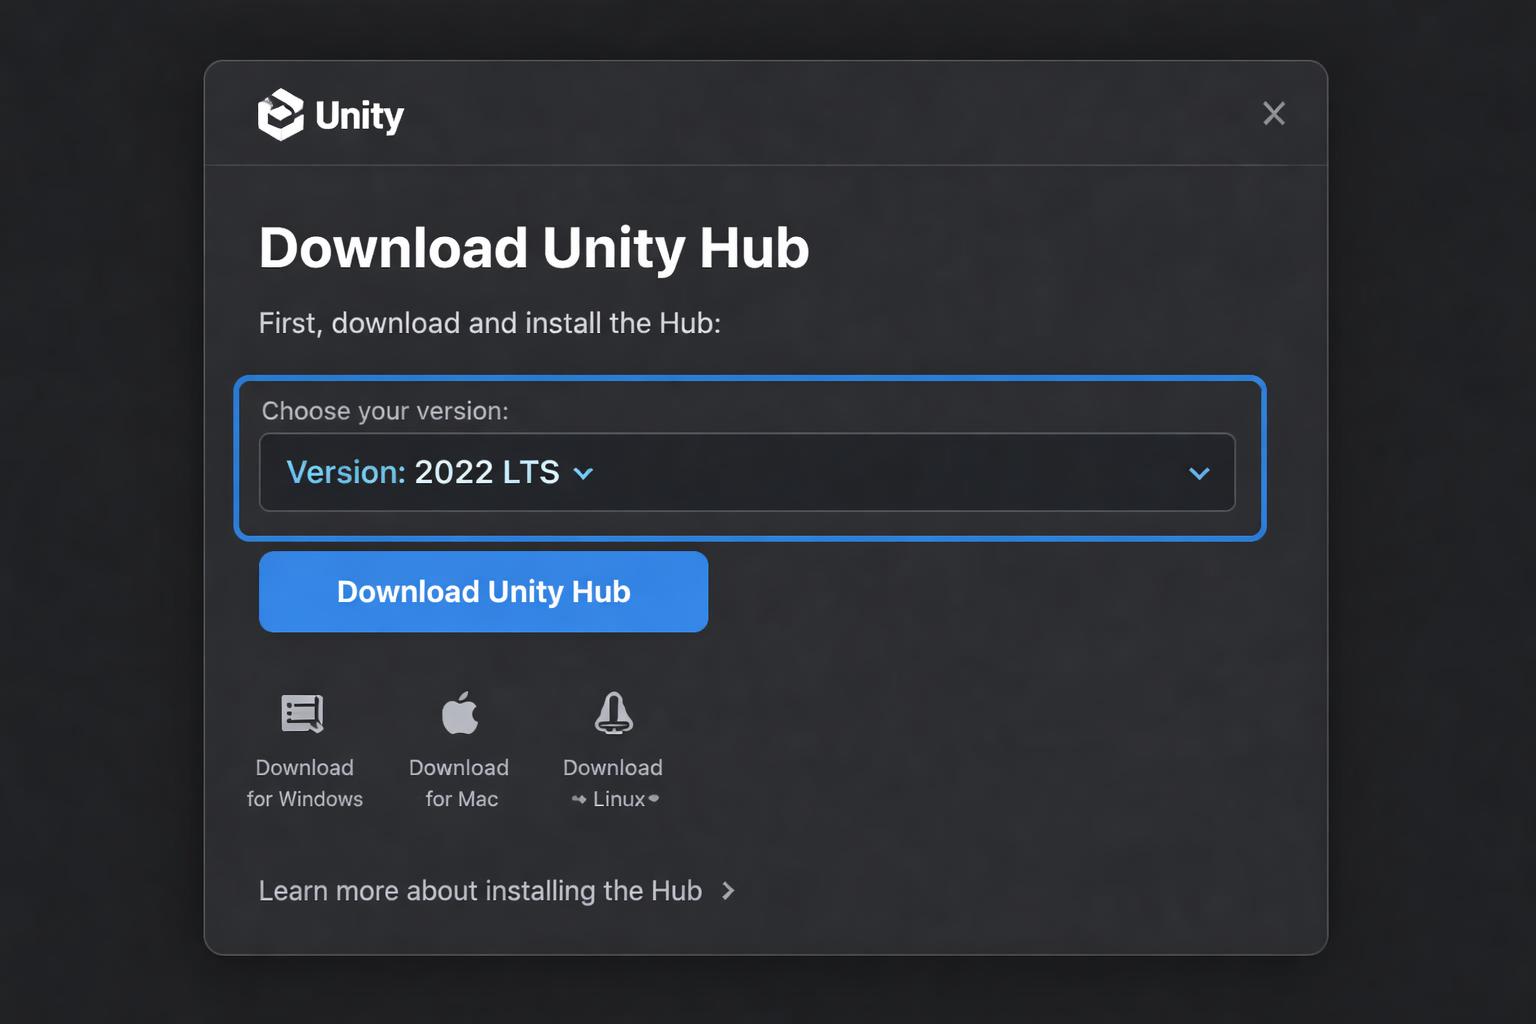
- Go to unity.com and download Unity Hub — think of it as the “launcher” that manages your Unity installations.
- Inside Unity Hub, click Installs → Install Editor. Choose the latest LTS (Long-Term Support) version. LTS means “stable and not going to randomly break on you.”
- Click New Project. When the template screen appears, select 3D Core. Name your project
Unity will take a minute to load. This is normal. Grab a coffee. ☕Step 2: The Interface — The “Big 4” Windows
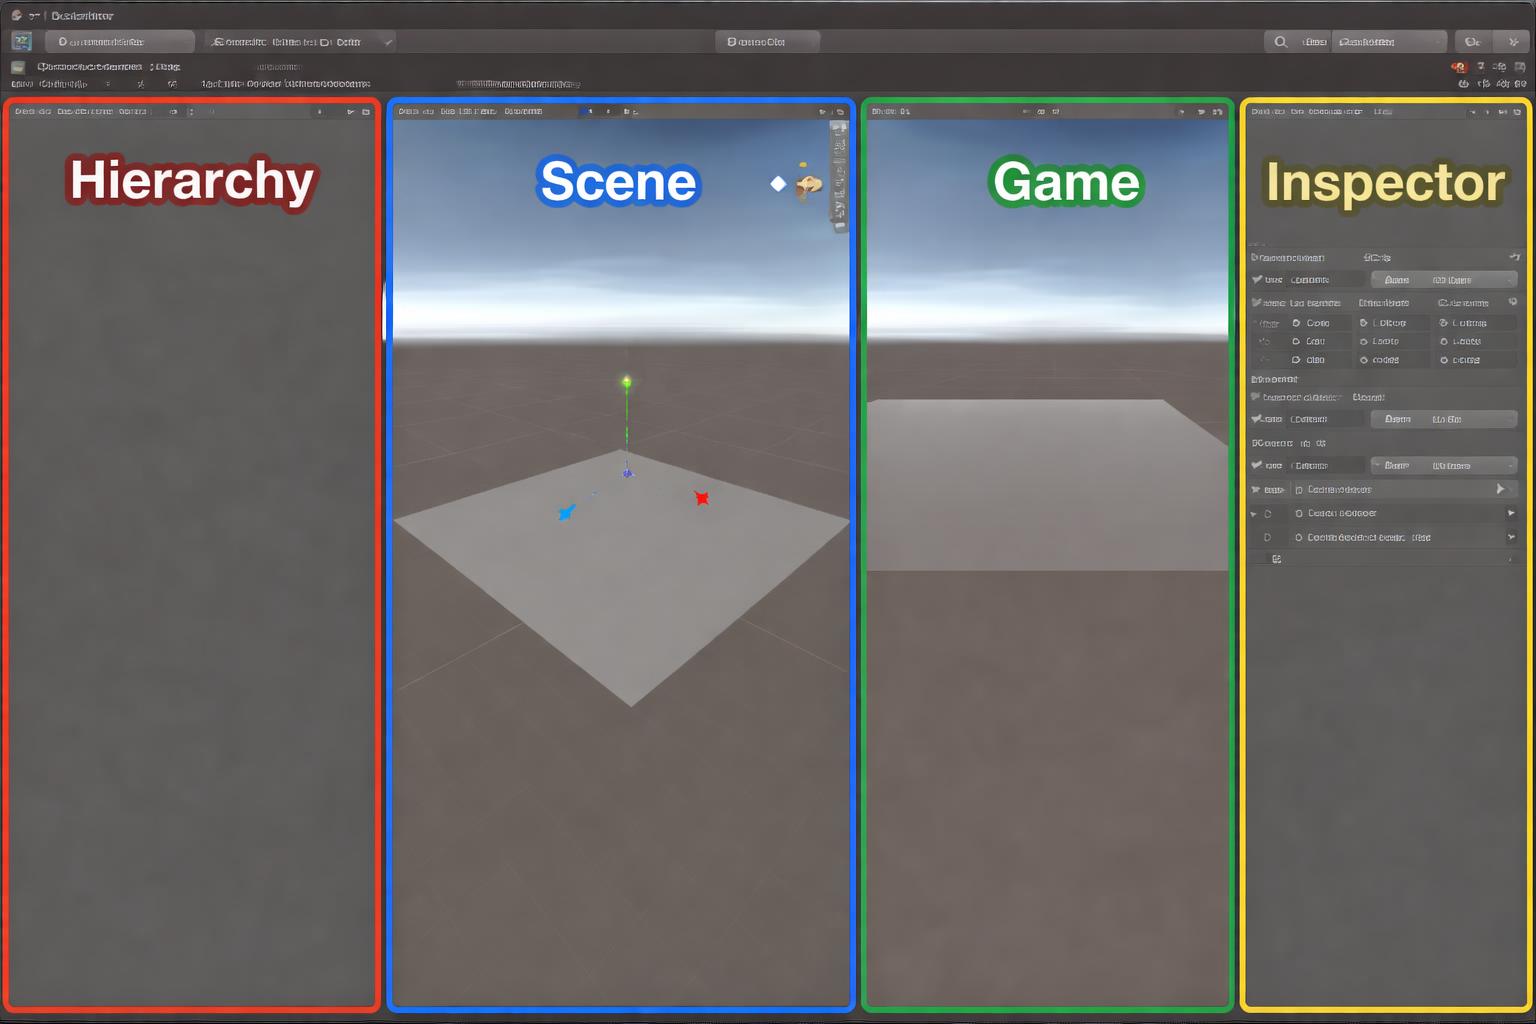
Unity’s editor looks intimidating. It’s not. You only need to understand four windows:
- Hierarchy (top-left) — Your movie cast list. Every object in your scene lives here. If it exists in the game world, it has a name in this panel.
- Scene (center) — Your director’s viewfinder. This is where you build and arrange your world. You can fly around it freely.
- Game (tab next to Scene) — The audience’s seat. Hit the Play ▶ button and this shows exactly what your player will see.
- Inspector (right) — The object’s ID card. Click any object and this panel shows everything about it — its position, size, color, and behaviors.
Golden Rule: Select something in the Hierarchy, tweak it in the Inspector.
Step 3: Creating the World
Building the floor:
- In the Hierarchy, right-click → 3D Object → Plane. A flat white surface appears. This is your floor.
- In the Inspector, rename it
to give it more room.
Building the player (the ball):
- Right-click in Hierarchy → 3D Object → Sphere. Name it
In the Inspector, set its Position toMaking it look good instantly:- In the Project panel (bottom), right-click → Create → Material. Name it
In the Inspector for that material, click the white color swatch next to Albedo and pick a bold color — electric blue works great. - Drag
Repeat with a different color for the floor. Boom — your game already looks intentional.Step 4: Movement Logic — The “Scary” Part (It Isn’t)
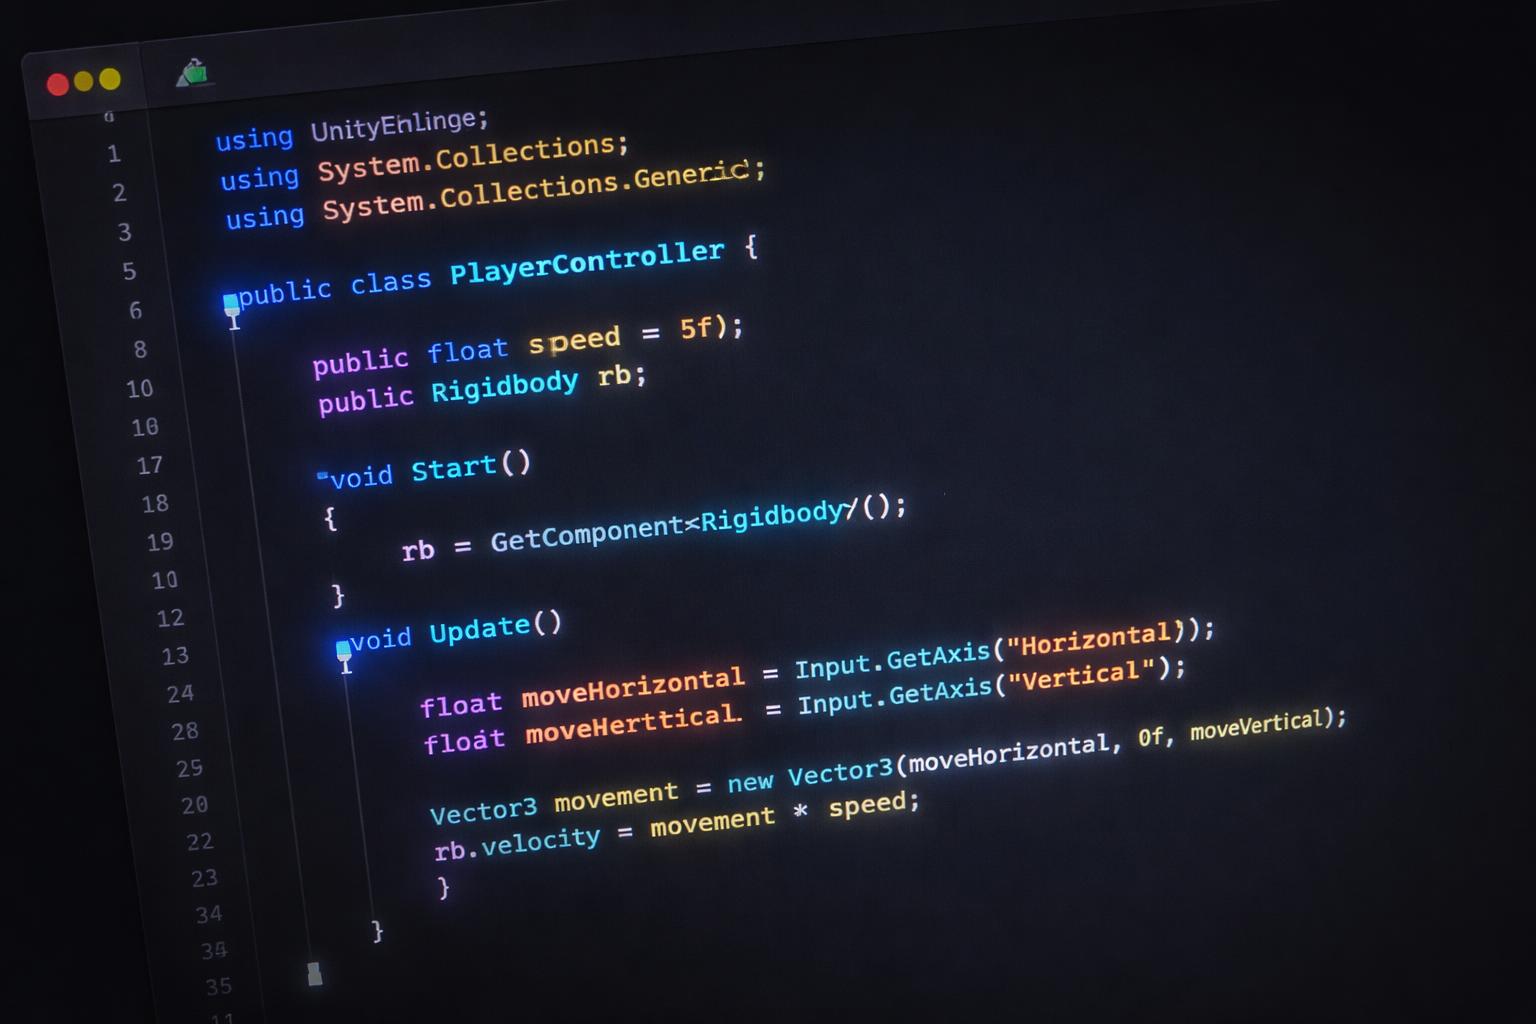
This is where people bail. Don’t. We’ll go line by line.
Creating the script:
- Click your
In the Inspector, click Add Component → New Script. Name itReplace everything in the file with this: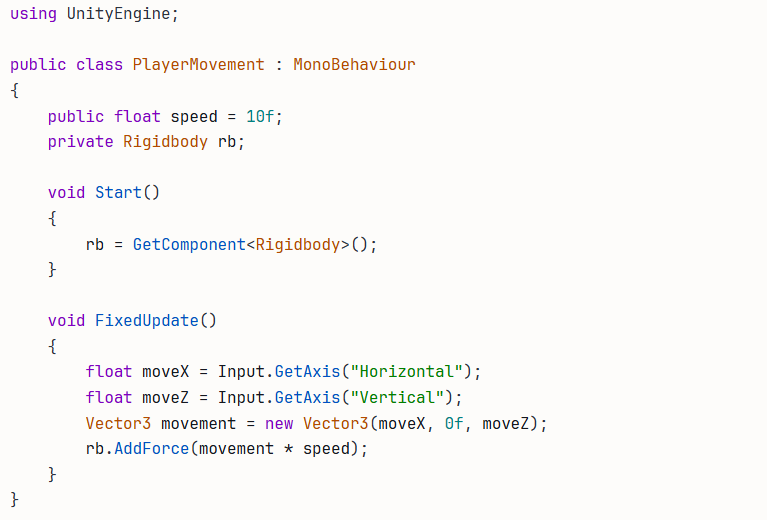
Human Language breakdown:
Save the file (Step 5: Physics & Collisions — Why the Ball Needs a SoulRight now your ball is just a decoration. It has no physics. No gravity. No weight.
- Click
Add Component → Rigidbody.
That’s it. Rigidbody is Unity’s physics engine component. It tells the engine: “This object has mass. Gravity affects it. It can push and be pushed.”
Hit Play ▶. Use WASD or arrow keys. Your ball rolls. You just made a game mechanic.
Step 6: The Game Loop — Coins & Collection

A game needs a goal. Let’s add collectible coins.
Creating a coin:
- Hierarchy → 3D Object → Cube. Name it
. - Give it a bright yellow Material (same process as before).
- In Inspector → Add Component → Rigidbody. Then uncheck “Use Gravity” — coins float.
- Check “Is Trigger” on the cube’s Box Collider component. This means: “Don’t physically block things — just detect when something enters me.”
Making it a Prefab (a reusable template):
Drag the
Making the coin disappear on touch:-
- Select your
.
- Select your
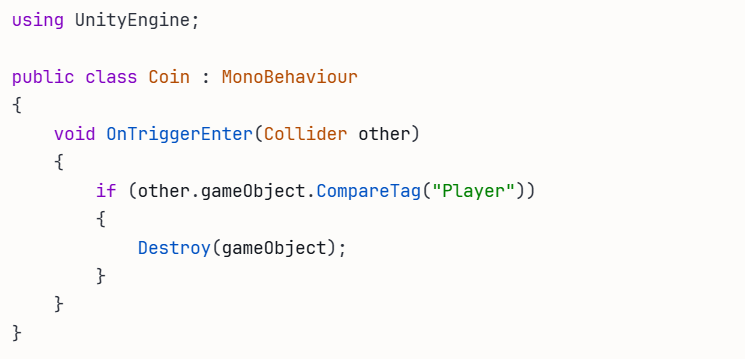
Back in Unity, click yourHit Play ▶. Roll into a coin. It vanishes. You have a game loop.What’s Next?
You’ve built the core. Here’s what separates a demo from a game:
- Score UI: Use
using a static variable. - Spinning coins: Add a simple
method for that satisfying spin effect. - Build & export: File → Build Settings → PC/Mac (or Android for mobile). Click Build. Unity packages everything into a
you can send to friends.
You Just Built a Game. Seriously.
Not a fake tutorial output. Not a template someone else made for PC. Your game, with physics, collectibles, and player controls, you can explain line by line.
That’s the thing nobody tells beginners: the hardest part of game development isn’t the code. It’s starting. And you just did that.
Share a screenshot of your ball game in the comments. Tag it with what color you made your player. And if you want to go further — adding a win screen, enemies, or a jump mechanic — check out the next guide in this series.
The only difference between you and a game developer right now is more reps. Go get them. 🎮
- Score UI: Use
- Click
- Click your
- In the Project panel (bottom), right-click → Create → Material. Name it